DIY WEDDING IDEA: MARQUEE LETTER
DIY wedding ideas are something we love here at 1928 Planning Co. Not only do they add some personalized flair to your wedding, but you can brag about your crafting skills to friends and family. Today we are going to teach you how to make a marquee letter that will be the perfect addition of vintage charm to a gift or dessert table. This DIY would also look adorable in the newlywed’s home post wedding!
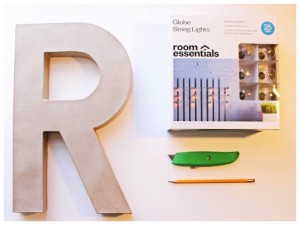 Photo credit: Camille Curtis – 1928 Intern
Things you will need:
Large Cardboard Letter
X-acto Knife
String Globe Lights
Pencil
Paint color of your choice (optional)
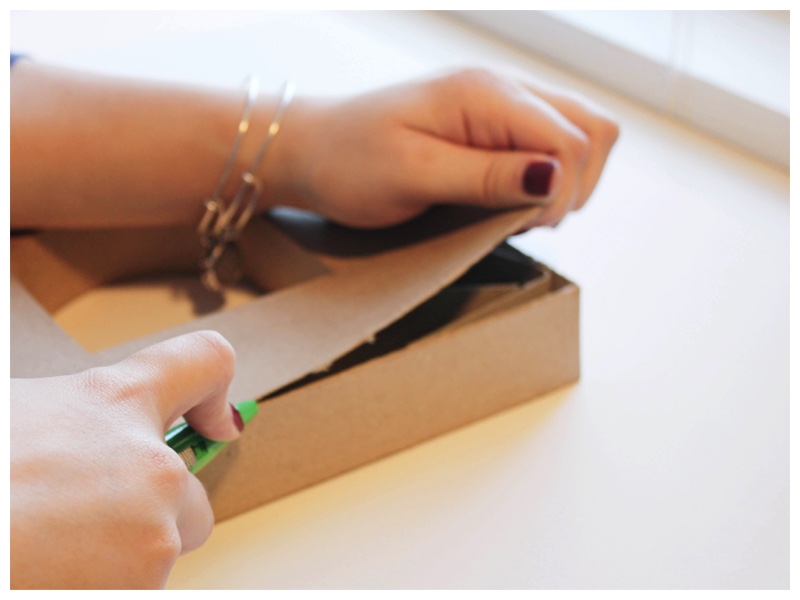
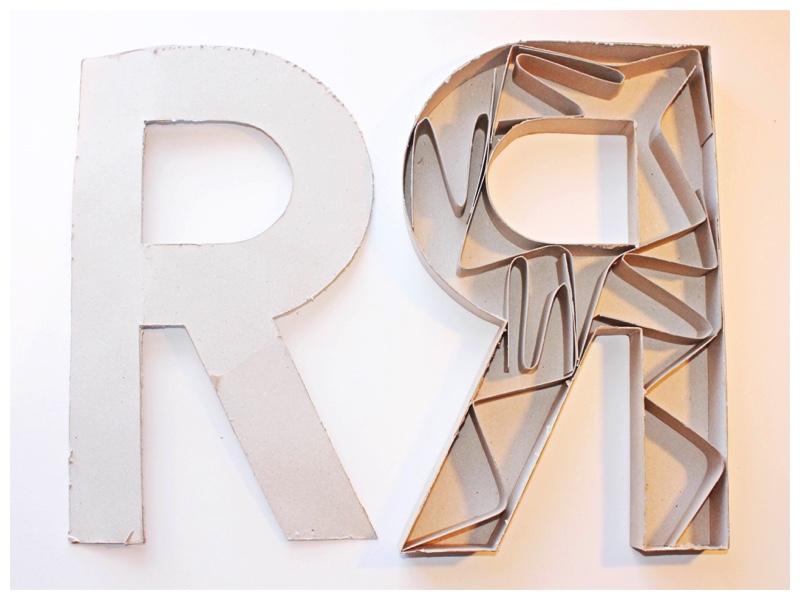 1. Cut along the seam of the letter on one side only. This will allow you to hide the cord from the lights later on.
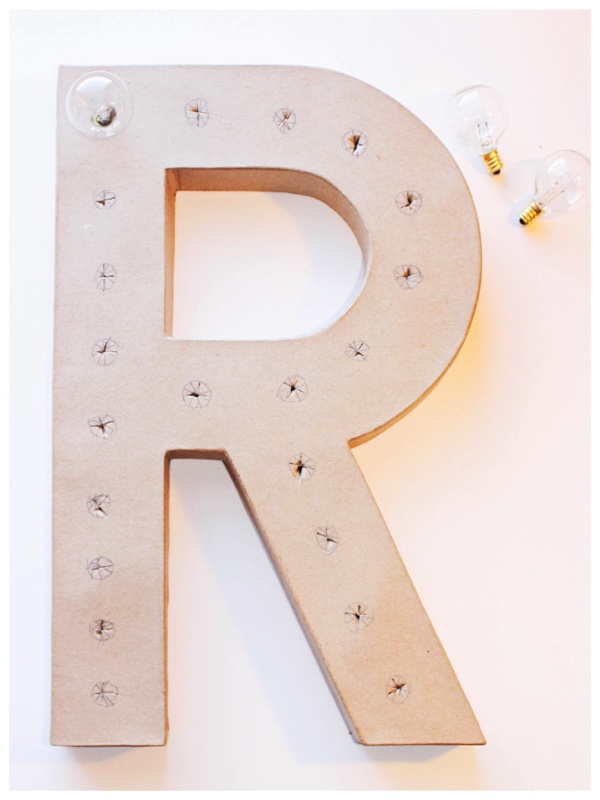
2. Twist the globes off of the strand and place them where you want them on the front of the letter.
3. Trace around the smallest part of the globe with your pencil.
4. Using the X-acto knife cut an asterisk into each circle, that way you can fit the globes into place.
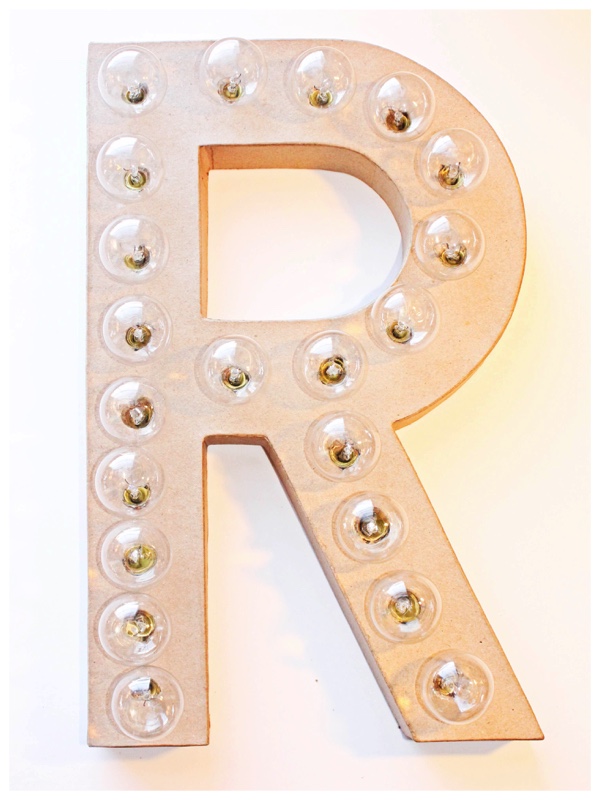
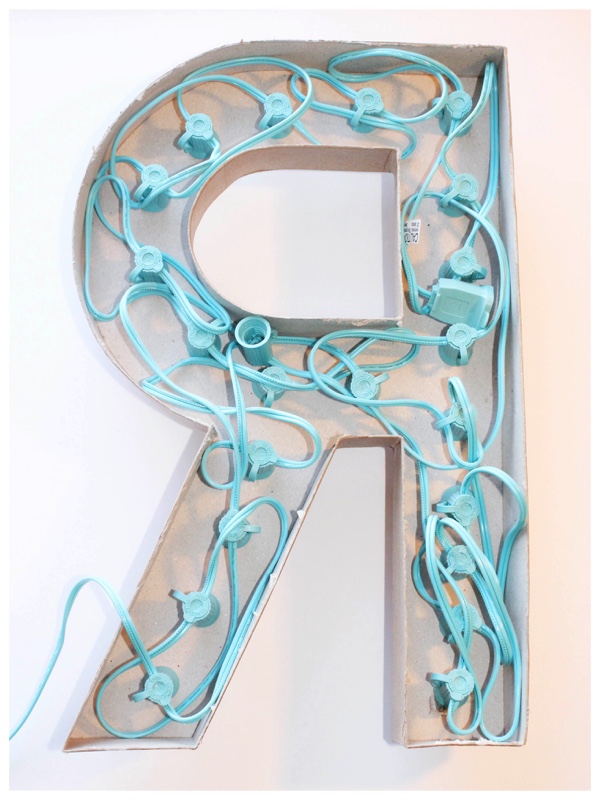
5. Place the globes back into the circles and insert lights from behind. Make sure you are tucking the extra cord in as you go.
6. Apply a coat of paint, if you wish!
If you try this for your home or wedding send us a photo, we would love to see! We hope that you love this darling DIY wedding idea just as much as we do.
